

So, welcome back for another round on SDR and HackRF One. If you have read the last article on GQRX, and wan't some real fun, read on.
In this tutorial, we''l be playing with a Quwha 912-2 doorbell, to see if it's vulnerable to replay style attacks.
First, go read the introduction to SDR in Software Defined Radio fun, and come back here, and join me for some more fun. Today we're targeting a doorbell, here it's the 912-2 from Quwha, since I had one sitting around. The specs are as follows.
FREQUENCY 	        315/433MHz±0.5MHz
RECEPTION SENSITIVITY 	≥-80dBm
POWER SUPPLY    	1×12V 23A(INCLUDED)
TRANSMITTING POWER 	≤10mW
QUIESCENT CURRENT 	≤400uA
OPERATING RANGE 	100M(IN THE OPEN AIR)
The important thing to take notice of, is frequency. Mine's a 433 MHz, since this is an non-regulated frequency where I live, as long as you don't transmit more than 10mW.
So, now we have a target, what do we do ? Our plan is this. See if we can see the signal over the air, try to record it, and trying to play it back, and see if we can trigger the doorbell to ring. If it does' it's vulnerable to replay style attacks. IF it is, we "could" write a simple python script to loop the trigger signal endlessly, and target the next door doorbell. NO, i'm NOT saying you should, that would be pure evil :)
So, first up, we need some software. Again, we're using Kali as a host, and next, we'll find a tool called Universal Radio Hacker.
So, update Apt, and after that, install Universal Radio Hacker like so.
sudo python3 -m pip install --upgrade pip  # Update your pip installation
sudo python3 -m pip install urh            # Install URH
Next up, ALT+F2, type urh, and ENTER :)
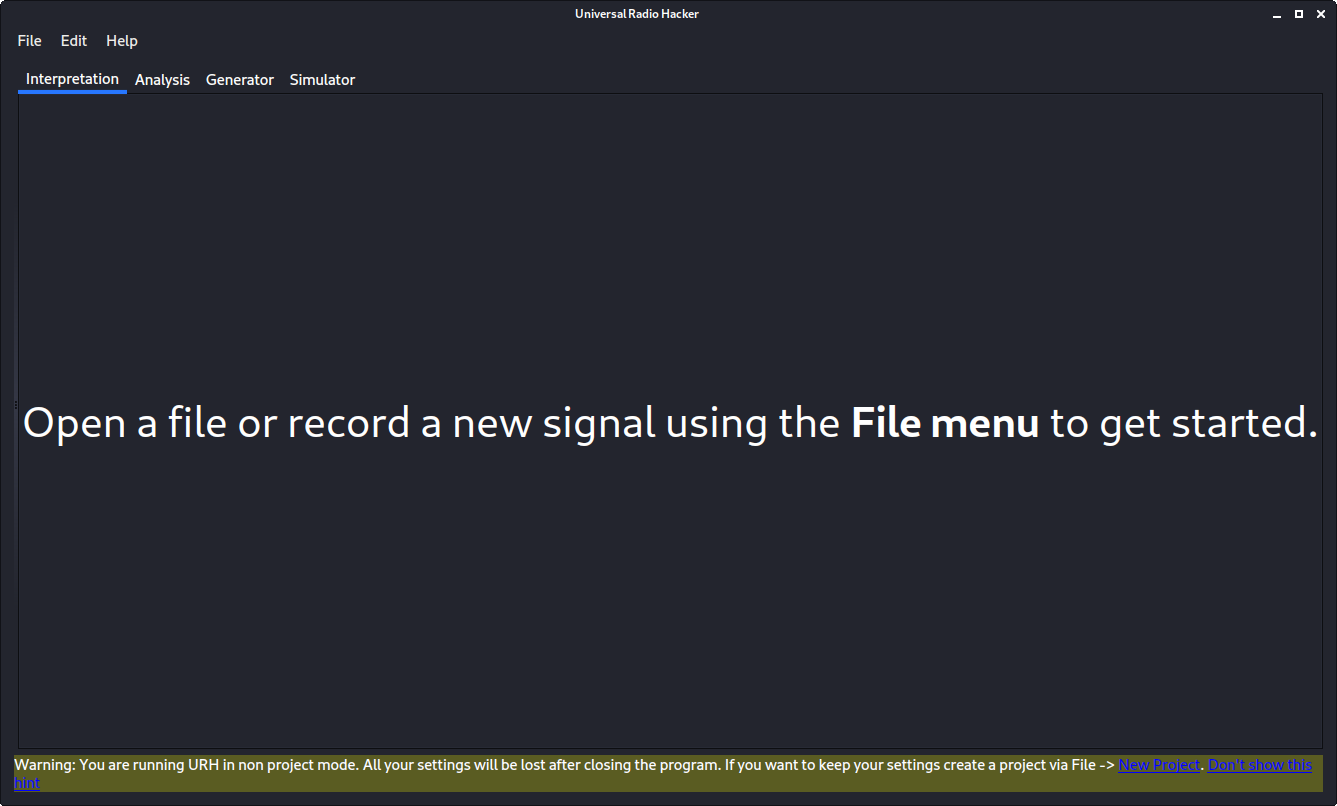
This is the main window in URH, before you see anything else. In the file menu you can open a new project, if you want to store the signal, or get straight to it. The first thing we need to do, is seeing if we can find the signal, and we do that with the Spectrum Analyzer view. go ahead, open menu, and choose spectrum analyzer.
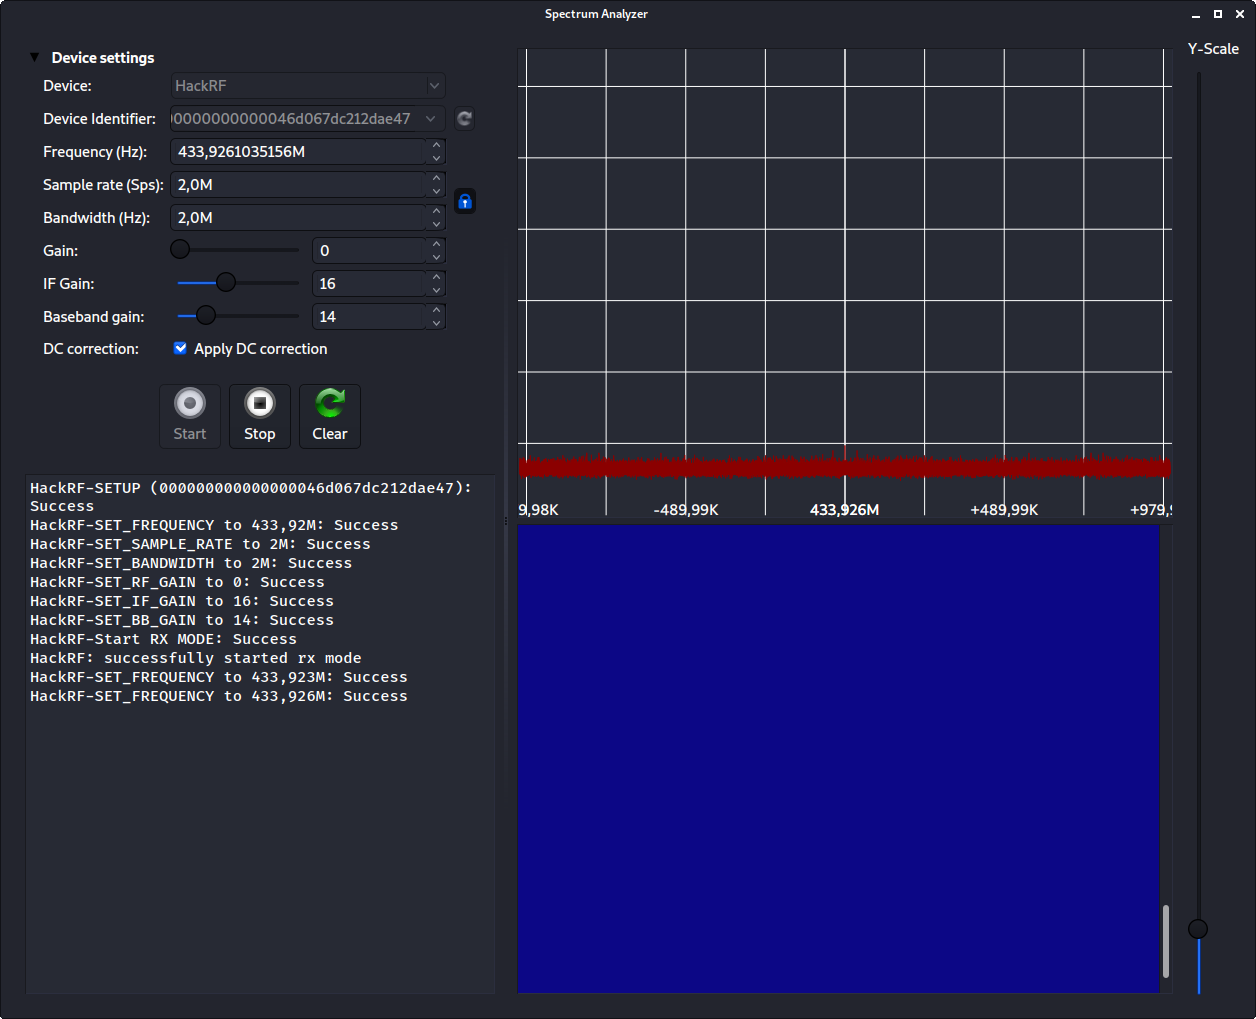
Here you need to set the device type, mine's HackRF, and tell URH to scan for devices, to see if it can find the right one. It found mine, so choose yours' and let's move on.
The next thing we do, is set the frequency, here it's 433.92 MHz. That's it. Press start, and you'll see the waterfall start to move, just a bit.
Now, we trigger the doorbell, and see if we have set the frequency correctly. If you have, it will look something like this.
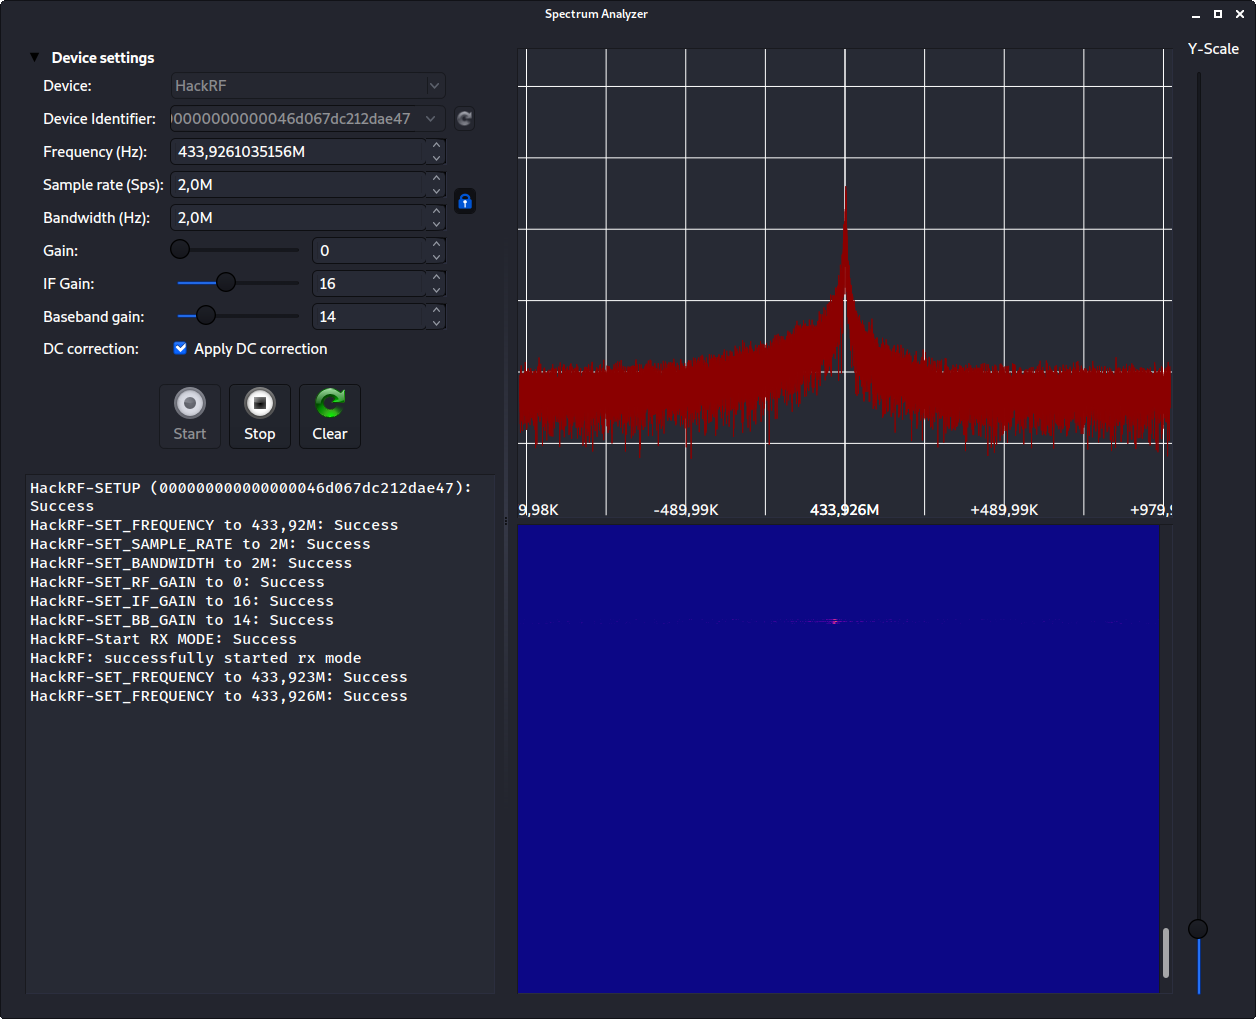
Here I were right on the money, and got a peak at 433.926. So stop the analyzer, and head into the menu, and let's choose the capture / record signal option.
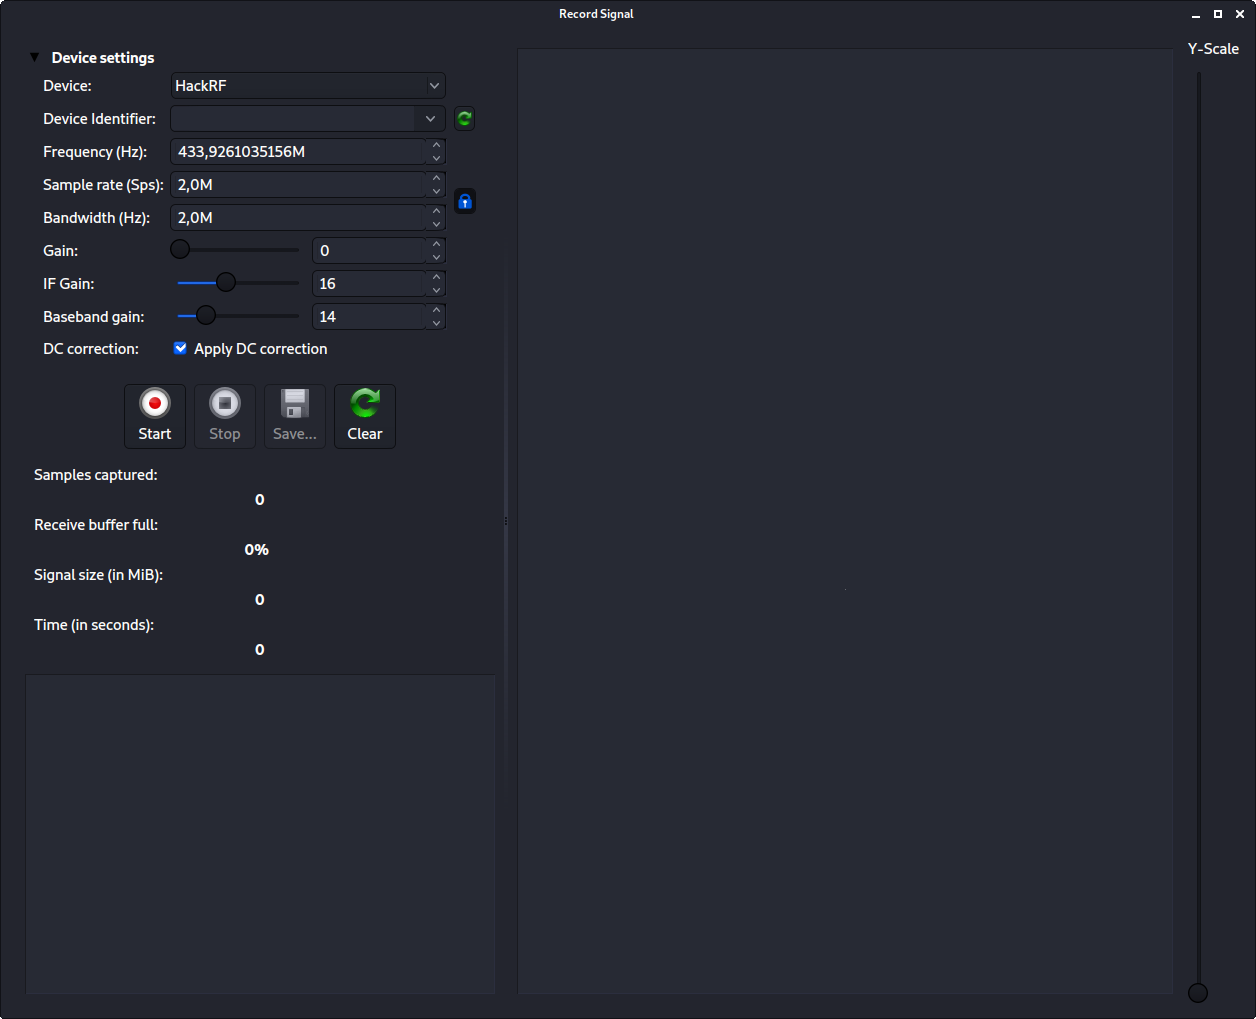
Again, set the options, and take note that frequency is the right one, and when all set, press record. After that, trigger the doorbell button again. If all worked out, you'll see something like this.
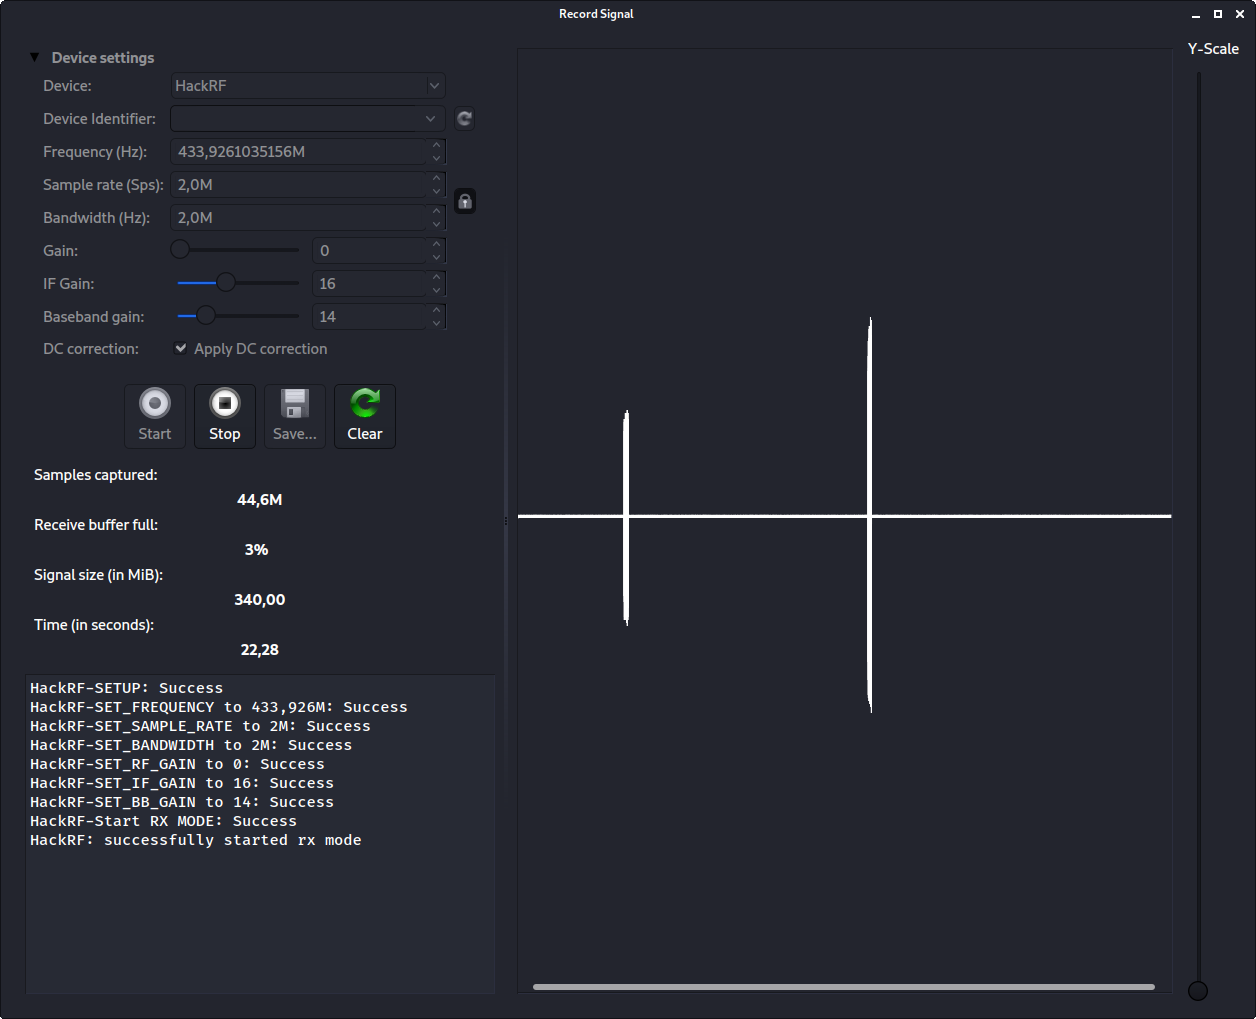
Here I got two signals with a small delay between them, because I triggered the doorbell button twice, with two seconds between them. That's it. We got it, save it, and close the window, and let's go back to the main window.

Here's the main window, with a series of signals from the capture. Notice we have a little play button, click it, and the playback / send signal window opens up.
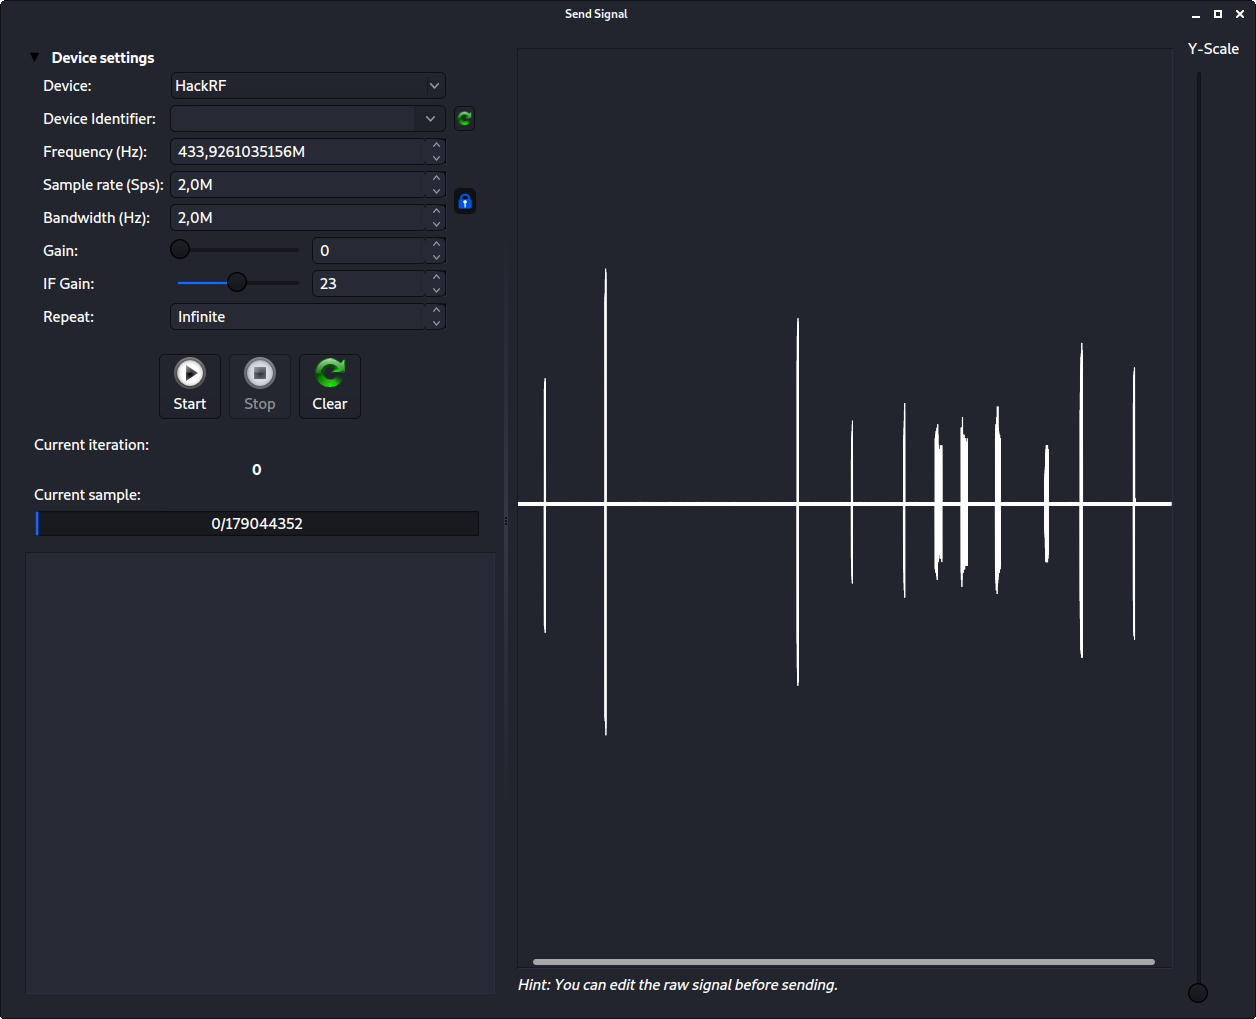
Now, it's just a matter of starting the transmission with the start button. If it works, your doorbell should recieve the signal, and start ringing. If it does, you successfully conducted a replay attack against it.
But, we barely scratched. the surface with Universal Radio Hacker, and RF. There's so much more to look into, so go have a look at Youtube and Mike Ossmann's tutorials for some real inspiration :)