

Hey there, and welcome to the amazing world of Software Defined Radio :)
In the tutorial, we'll have a look at GQRX, and Software Defined Radio with the HackRF One :)
There's a couple of things you'll need. A Kali Linux Box, and some kind of Software Defined Radio hardware. Here I'll be using a HackRF One, but as long as you got transmit / recieve and it supports the frequency you're after, it really doesn't matter what hardware you use.
So, let's talk a bit about what SDR really is. It's a radio transmitter and reciever as a hardware box, with the controls and processing in software. So it's basically a box, hooked up to your computer over USB, and some software. Here I'm running kali, but Debian should work with no problems. The specifications on HackRF One is as follows
    1 MHz to 6 GHz operating frequency
    half-duplex transceiver
    up to 20 million samples per second
    8-bit quadrature samples (8-bit I and 8-bit Q)
    compatible with GNU Radio, SDR#, and more
    software-configurable RX and TX gain and baseband filter
    software-controlled antenna port power (50 mA at 3.3 V)
    SMA female antenna connector
    SMA female clock input and output for synchronization
    convenient buttons for programming
    internal pin headers for expansion
    Hi-Speed USB 2.0
    USB-powered
    open source hardware
And it looks like this

So, what do we need to get up and running ? For AM / FM radio, we need a program called GQRX, since it's pretty simple, and good enough for a simple test.
So update apt. search gqrx, and install it
#update apt

apt update

#find gqrx

apt-cache search gqrx

#install gqrx

apt install gqrx
Next, we plug in the SDR box, and see if GQRX can find it, and test if it works.
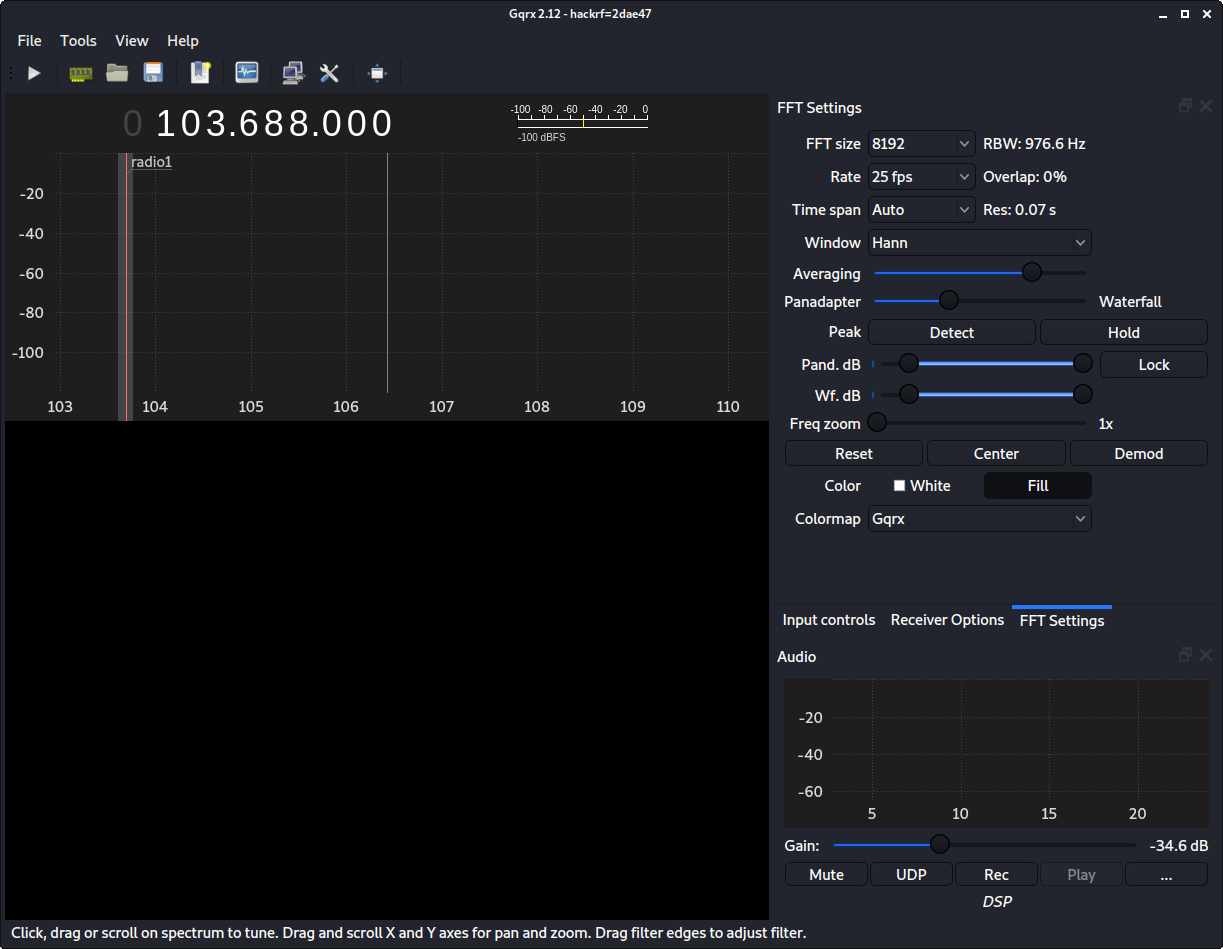
This is GQRX up and running. It's the main window. First it will pop up a config screen, so pick your device, config the base settings, and see if you can launch it, and get this screen.
Note in reciever options, there's an offset between the frequency at the top of the windows, and the hardware frequency. Tune the hardware to the frequency you are targeting, for best performance.
When you are "about there / close enough", hit the play button, to start capture in real time. Remember to set the mode to AM / FM, depending on what radio station you're targeting for testing.
When it's running, you should see a waterfall view, and the screen looks like this.

Here i'm looking at 103.668 MHz, or roughly 104 MHz. Notice the spikes at 106 and 108, going up to -40 db. There could be a transmitting station here, so click on the graph, and see if you can find it, or tune to another frequency, and find something else.
If you can't find anything, look at your gain and squelch settings. The closer squelch will get to zero, the more it will shut out. So start with squelch as low as possible, and medium gain, and go from there. Remember to be carefull with gain. Start as low as possible, and go up from there, not to overload the reciever and amp.
Note the mute and rec. Mute does what you think, mute the audio, and record records the signal to audio file :)
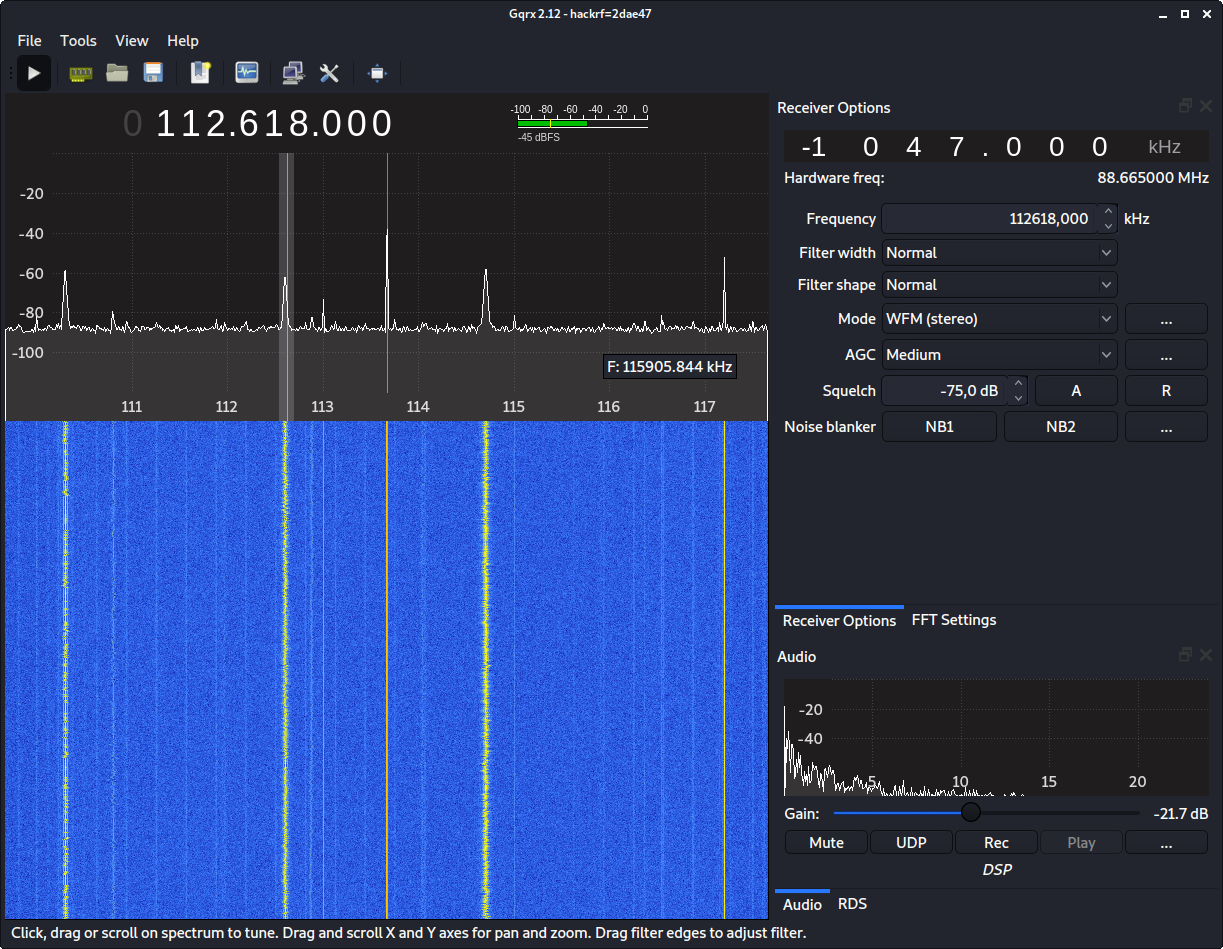
Here im recieving FM radio. Look at the waterfall spectrum, you can see I'm tuned to 112.668, and hardware 88.665 MHz. and if you look at the audio window, you'll see the signal coming in, at around -20 db peak, and avarage -40 to -60 db, and gain at -21.7 db.
So, if this worked out for you, and you could pick up a radio station running FM, congratulations, it works :)
Now, let's move on to something a little bit funnier, playing with doorbells. See you in the next tutorial :)